Here it is, the Operating System On a Stick for the raspberry pi2 or pi3 including all necessary Pskmail stuff.
After lots of experimentation with various operating systems for the pi3 I think I now have found a solution which is pretty much ideal for the stuff I am doing while traveling with our camper. I prefer the raspberry pi over the various laptops I am carrying, mainly because of the low power consumption. I don’t have to worry anymore when we are camping without a mains connection, the solar panel on the roof provides enough power for the raspberry computer and a low power ham radio station.
Several people have asked for a complete and easy solution for the raspi including the pskmail programs for server and client (details on the pskmail.org website).
Well, here it is. And I will start with a description how to put in onto your raspi 2 or 3.
Installation
You will need the following hardware:
- A micro-SD card of min. 128 MB, preferably quality 10
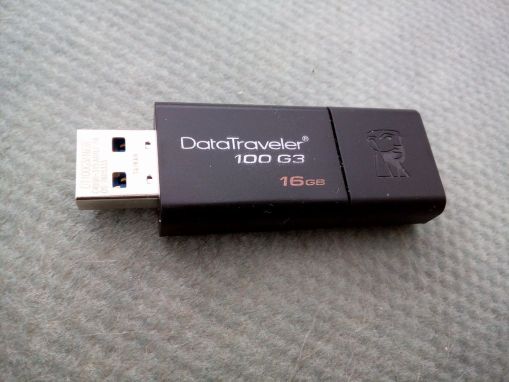
- A USB stick, preferable USB3 of > 4 GB. I prefer to use the 16 GB variety, which enables me to add other operating systems (e.g. lubuntu or mint) if necessary.
You need two software images, berryboot and raspbian.
You can download the berryboot image at:
The image for the pi/3 is called berryboot-20170527-pi2-pi3.zip The image is 36 MB only. To install the image: extract the contents of the .zip file to a normal (FAT formatted) SD card, and put it in your Raspberry Pi.
Once you start your Pi it will start an installer that reformats the SD card and asks you where to find the operating system.
The image for the USB stick can be downloaded from http://pskmail.org/downloads using linux with:
(in case you don’t have linux yet, get the USB stick version from PA0R, see a previous article @ PA0R.COM…).
First unzip the 16 GB image with:
- gunzip raspbian_pskmail-v.1.0.img.gz
then write the image to the stick with the following procedure:
- 1.: Mount the USB stick
- 2.: Check where it is mounted with:
- lsblk (look for a disk with a size < 16 GB, probably /dev/sdb, sometimes /dev/sdc)
- 3.: write the image to the disk using a terminal with:
- sudo dd if=raspbian_pskmail-v.1.0.img of=/dev/sdb bs=4M status=progress
If this is successful you are ready with the initial work.
Now is the time to start for the first time. Insert the SD card and the USB stick into the raspi and apply power to the raspi. You will be greeted with the berryboot boot loader. For details on the first start take a look at:
When berryboot asks where to find the OS, tell it to look at the USB disk. If all is well it will boot into raspbian, and you are have a functioning system with fldigi, pskmail server, pskmail client, libreoffice etc.
The SSH server is running by default, the user/password is pi/raspberry. Change the password before you go on line. You can start the vnc server via the SSH server with:
which connects display nr. 10 to vnc. It will allow you to use any vnc client on your LAN to perform further experiments. You can now start the pskmail client and server remotely, and connect to it any time you want.

I hope you have as much fun with it as I have….


 The procedure is simple: